Folders let you save clips and photos to review or share.
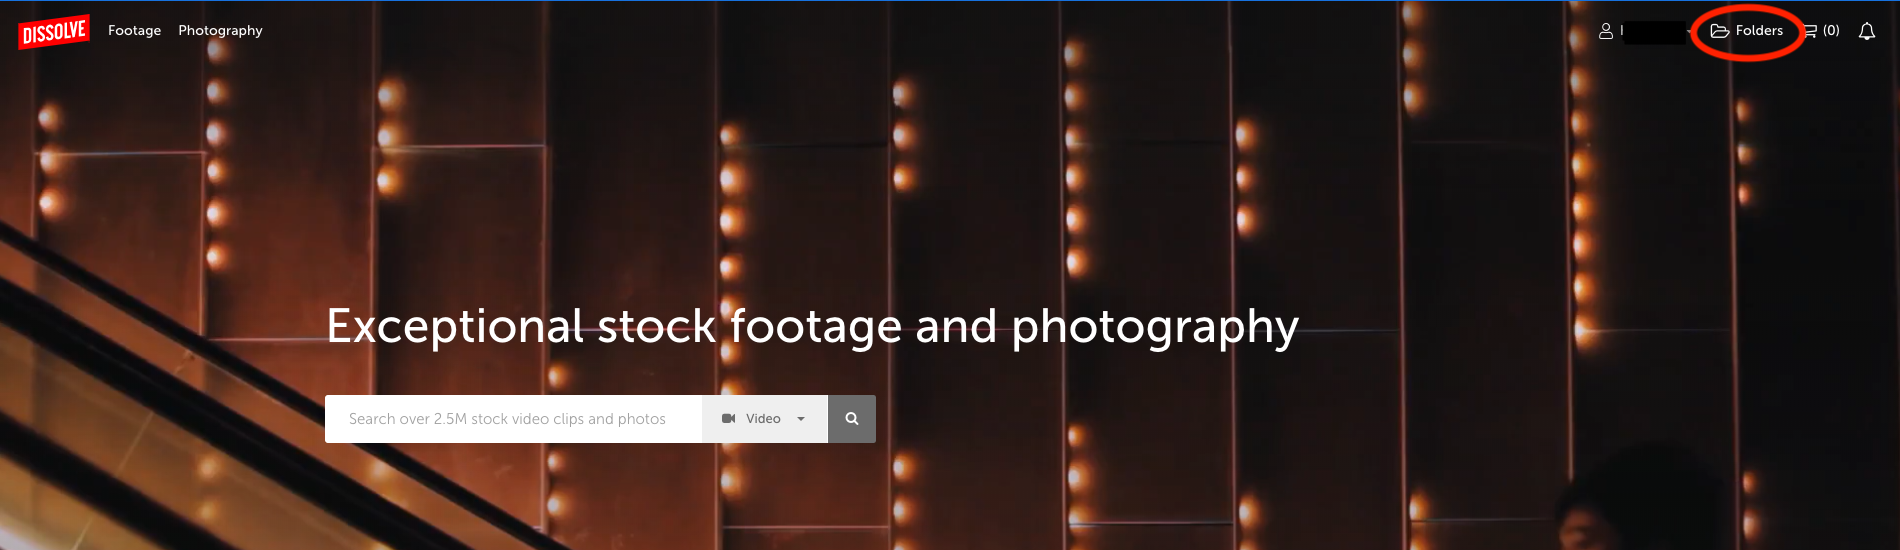
You can access folders from the top right of the site, when logged in to your Dissolve account.
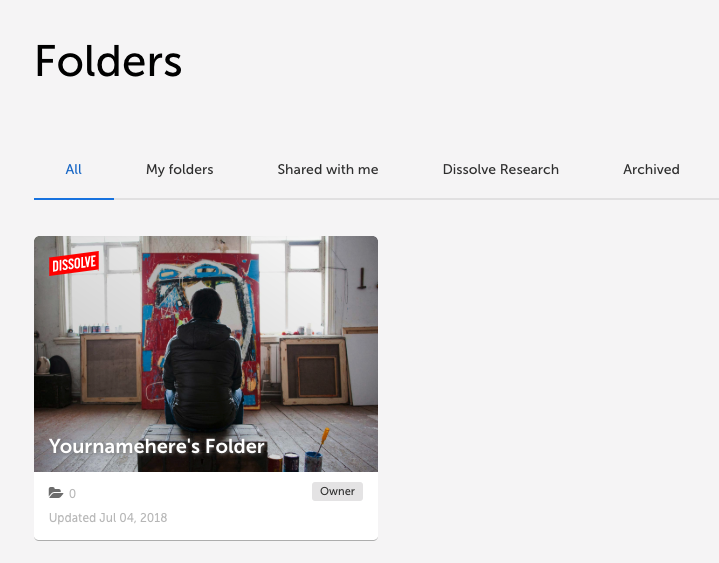
When you first sign up, your default folder is created, titled “[Yournamehere]’s folder.”
Folders that are shared with you will also appear on this page.
You can add subfolders in folders to help organize your chosen clips and photos.
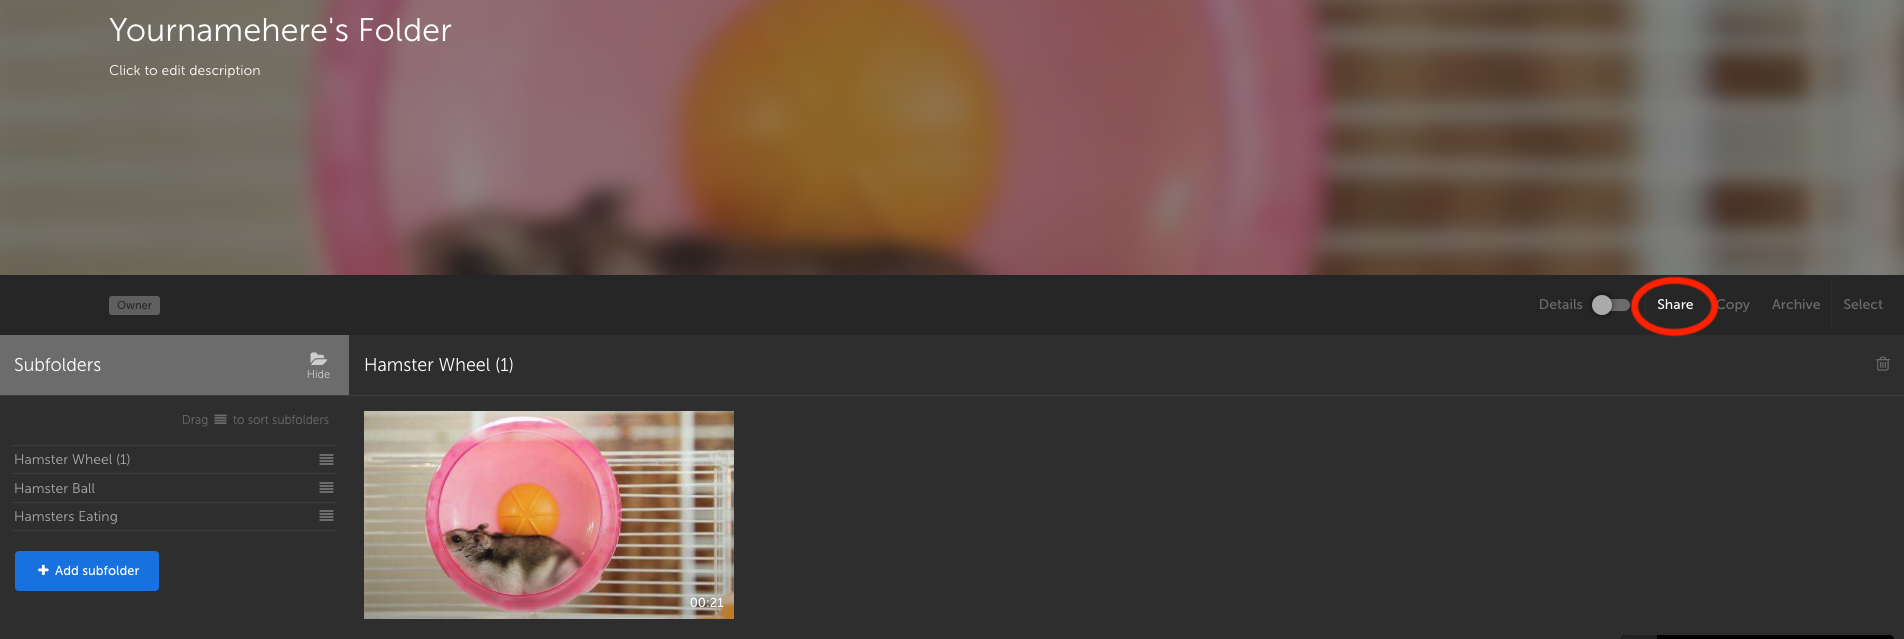
Once you click on a folder, you can create subfolders by clicking on the "Show" button.

Click on "Add subfolder":

Then add the name of your subfolder and hit the Enter key on your keyboard.
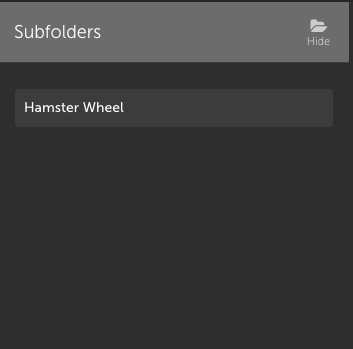
You can add as many subfolders as you like to help organize your clips and photos.

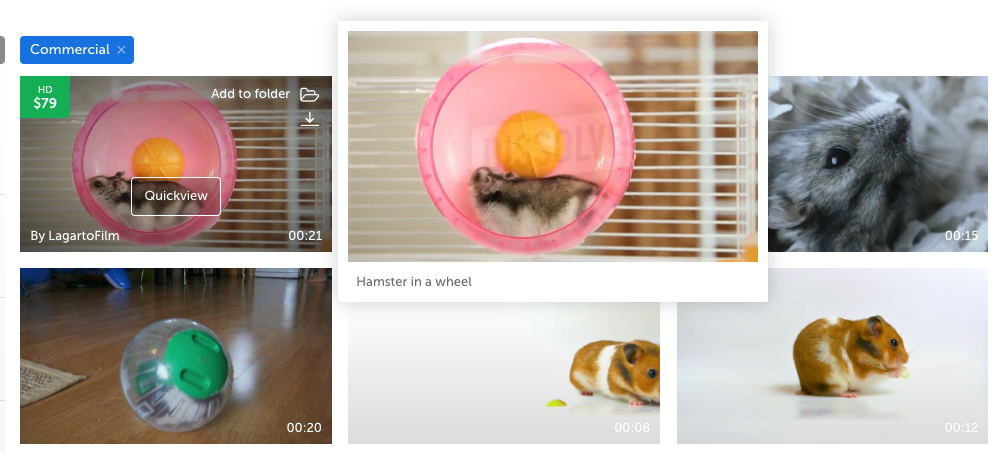
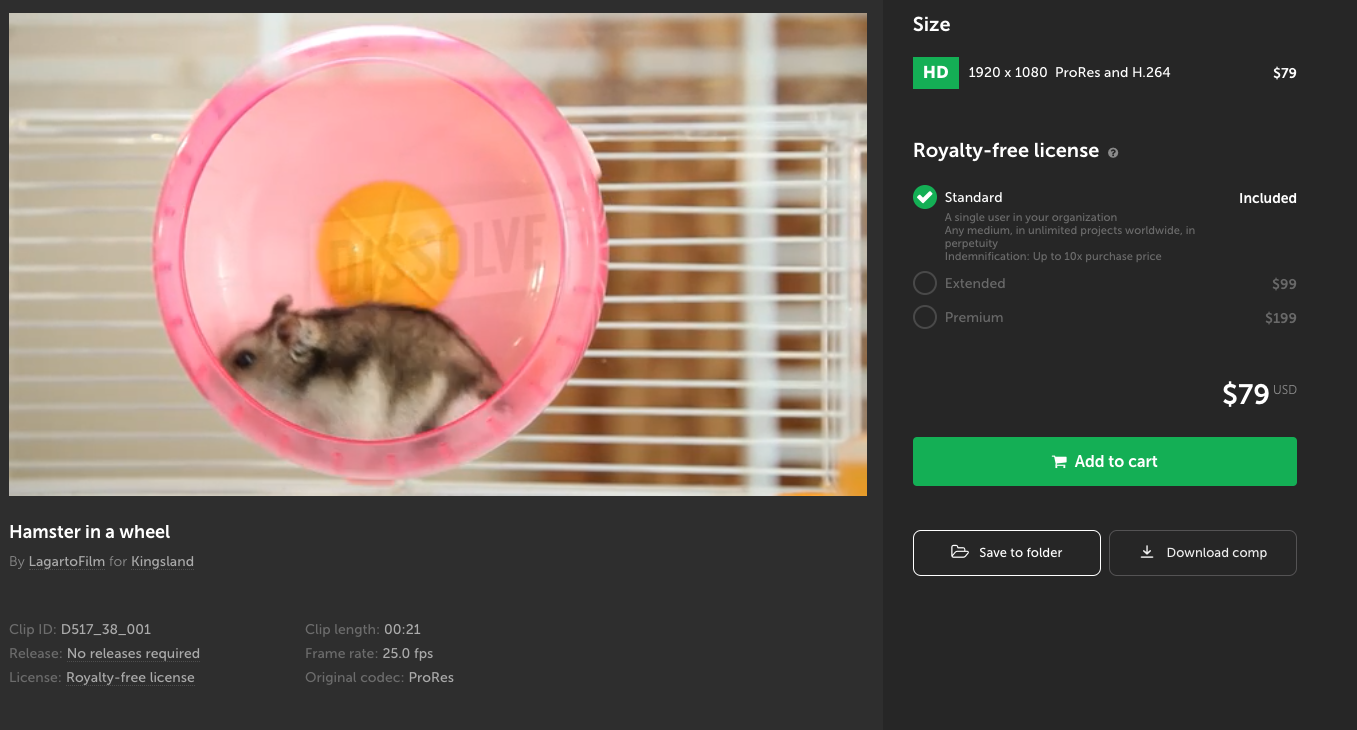
You can add clips or photos to your folder from thumbnail view or the product detail page.
To add from the thumbnail view, hover over a thumbnail of a clip that you want to add to a folder, and click "Add to folder".
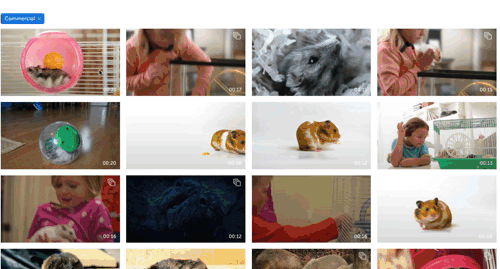
When you're hovering over a thumbnail, the "Add to folder" button will pop up on the thumbnail.
To add from the product page, click on the "Save to folder" button on the bottom right.
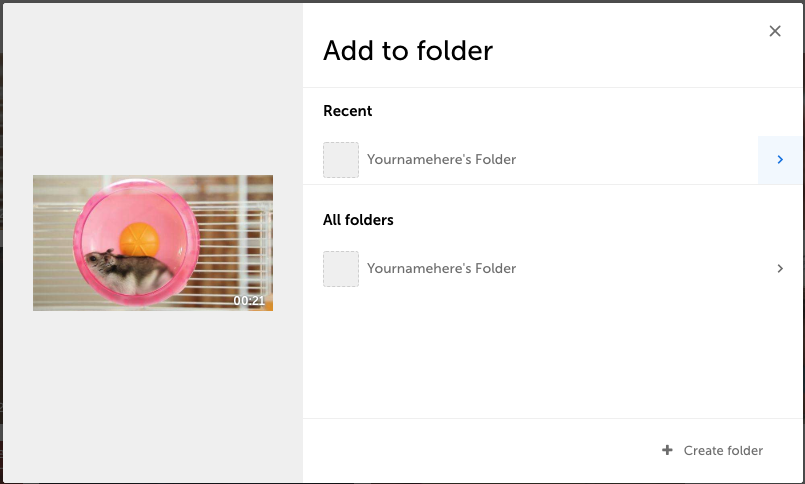
After clicking "Add to folder" or "Save to folder" you can choose which folder you'd like to add the clip or photo to.
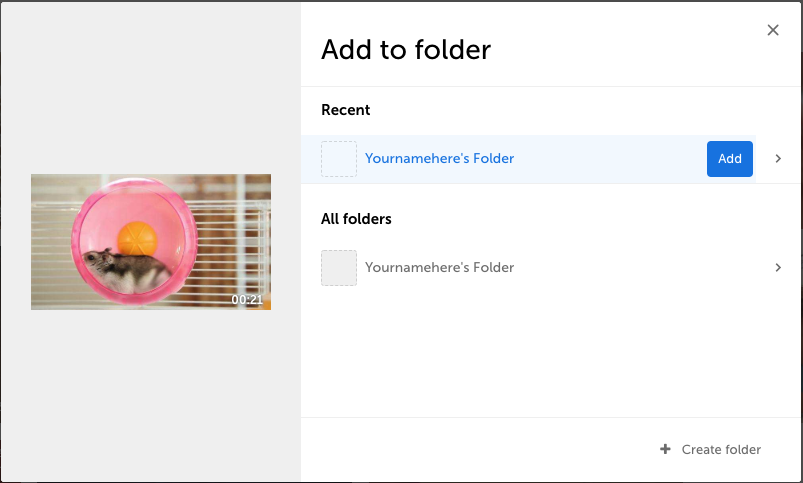
You can also choose to add it directly to a subfolder to organize clips and photos easily.
Click on the arrow on the right of your folder name:
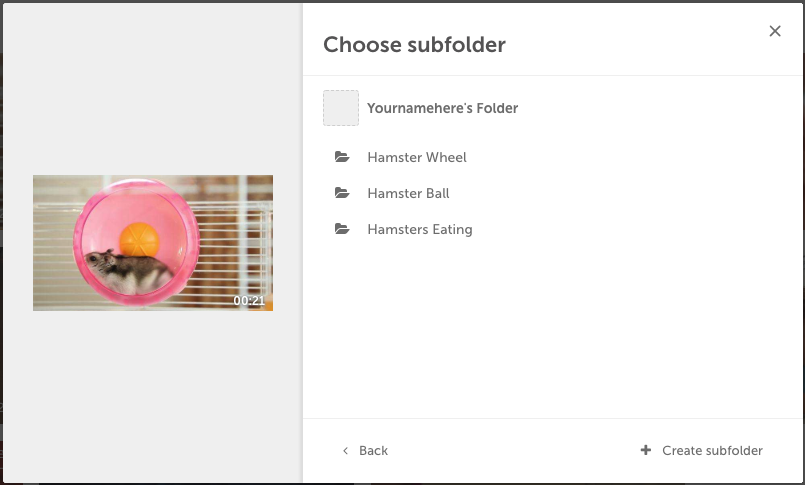
Then choose the subfolder you'd like to add the clip or photo to:
You can create new folders from your Folders page by clicking “New folder.”
After creating new folders, they appear as choices when you click “Save to folder” from any thumbnail or product detail page.

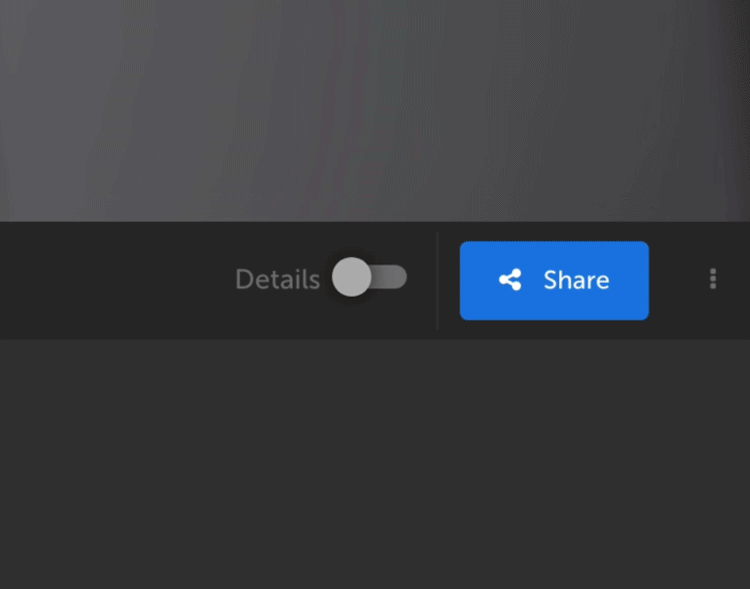
To share a folder, click “Share this folder” from your Folders page.
You can share the first link if you want to allow the recipient to edit the folder by adding, deleting, or moving clips or photos and subfolders.
You can share the second link if you want to allow the recipient to view the folder, however they cannot edit the folder or its contents.
Have any more questions about folders? Contact us at help@dissolve.com.